Cel Shading: The Legendary Animation Style of Zelda
May 09, 2023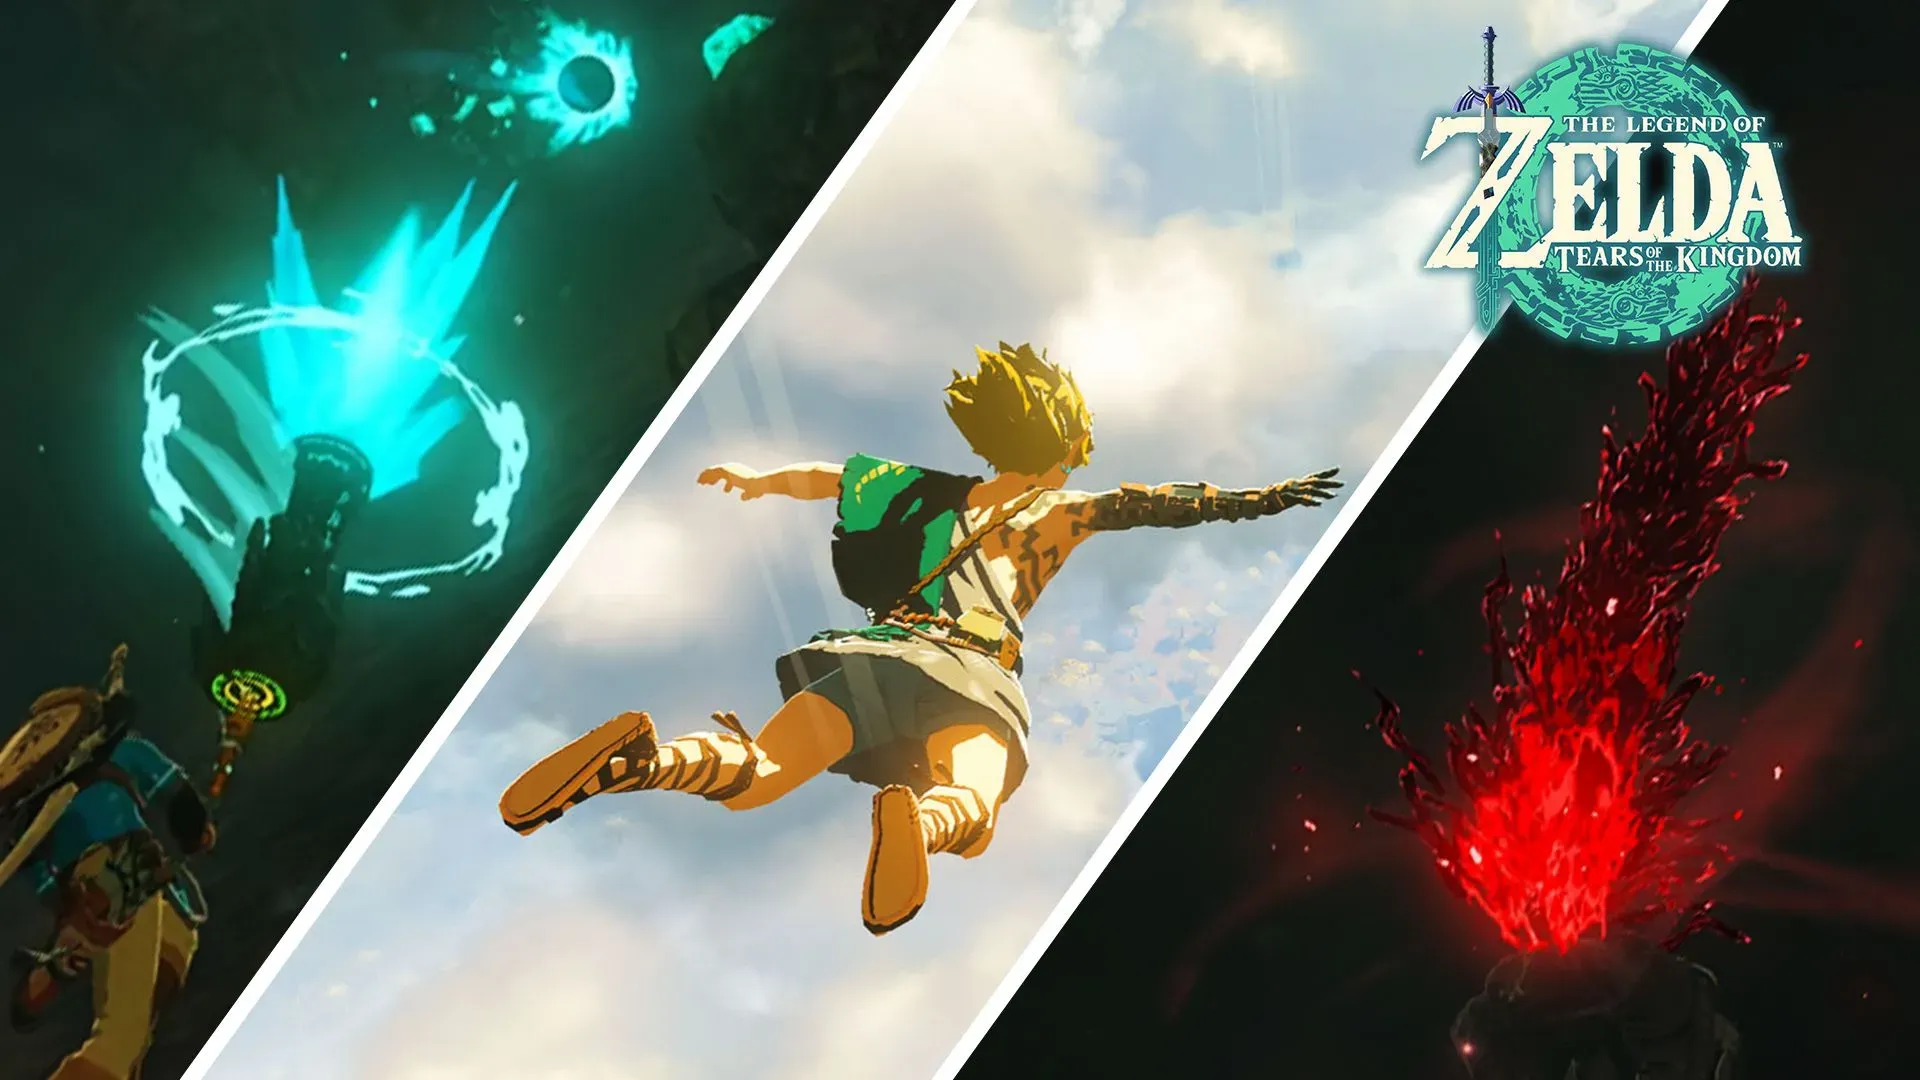
In honor of The Legend of Zelda: Tears of the Kingdom's release, here's what you should know about cel-shading - the incredible visual style of the beloved series.
This week marks the release of one of our most anticipated games of 2023, The Legend of Zelda: Tears of the Kingdom. The predecessor to 2017’s game of the century (in our opinion) Breath of the Wild is set to be one of the biggest games of all time, with gamers awaiting the visual splendor that Nintendo has blessed us with in the past.
One of the many reasons that these recent Zelda games have cemented themselves as some of the best games ever made? The VFX and design of the open world. The style that has become synonymous with the Zelda series, which is a 2D, 3D-hybrid style animation called cel-shading, really came into its own with Breath of the Wild.
The development of Breath of the Wild began in 2013, shortly after the release of The Legend of Zelda: A Link Between Worlds. The game was developed by Nintendo's Entertainment Planning & Development division, which is responsible for many of the company's top franchises, including Mario and Zelda and the development team aimed to create a game that would break from the traditional Zelda formula and offer a more open and immersive world for players to explore. They drew inspiration from games like Skyrim and The Witcher 3, as well as from real-world locations like Kyoto and Hyrule.
The game's development was led by series producer Eiji Aonuma, with direction from Hidemaro Fujibayashi (who also directed Tears of the Kingdom). The team also included many veteran Zelda developers, as well as new talent from other Nintendo franchises. One of the key innovations in Breath of the Wild is its open-world design, which allows players to explore the vast expanse of the game's Hyrule setting in any order they choose.
The game also features a new physics engine, which allows for more realistic interactions between objects and characters. To create the game's beautiful visuals, the development team used a new art style that combined traditional cel-shading with a more realistic approach. So let’s talk about what cel-shading is, on a technical level.
What is Cel-Shading?
Cel shading, or “toon shading” is a technique used in computer graphics to give 3D objects a 2D, cartoon-like appearance. The term "cel" refers to celluloid, a clear plastic sheet that was once used in traditional animation to create hand-drawn animations. Cel shading involves creating a shader that mimics the look of traditional hand-drawn animation, with hard edges and flat areas of color. This can be used to create a variety of visual styles, from comic book-inspired art to more realistic textures that still retain the look of traditional 2D animation.

One of the key benefits of cel shading is that it can make 3D objects look more like traditional 2D art, which can be useful for creating a specific visual style or for emphasizing certain aspects of a game or animation. Additionally, because cel shading often involves simplifying the geometry of an object, it can be less computationally intensive than other types of rendering, which can be helpful for games or animations that need to run on less powerful hardware. So let’s discuss the “why”.
So, Why Cel-Shading?
So, given the recent staggering advancements with Unreal Engine 5, why does a company as big as Nintendo still use this type of design? A few reasons! First, this distinct style has become synonymous with the new Zelda games. To put it frankly, people expect and love this particular style for its uniqueness and timelessness.
However, another reason is because they kind of have to. The processing power of a Nintendo Switch is… not quite up to par with something like a PlayStation 5. In terms of raw processing power, the PS5 is significantly more powerful than the Nintendo Switch. The PS5 is built around a custom AMD Zen 2 CPU and RDNA 2 GPU, which can deliver up to 10.28 teraflops of computing power (wowza). In contrast, the Nintendo Switch uses a custom Nvidia Tegra X1 chip, which can deliver up to 1 teraflop of computing power when docked.
So, when you’re designing a massive open-world game, you want to get the most out of the platform you’re working with without flooding your game with bugs and disruptions for the players. So in a way, its kind of the perfect game for the Switch. Tears of the Kingdom is expected to max out the capabilities of the console, while providing a beautiful, wondrous adventure that players can get lost in. Now that we know the why, let's talk about the "how".
Another reason? It's just a super cool style. Very vivid with classic animation styles that also help games stand out visually against other games focused on photorealism.

How To Create This Effect
Cel-shading for video games can be created using a combination of tools and creative techniques. Here are a few steps (to expect) that may be involved in creating cel-shaded graphics for a video game.
First, cel-shading can be used to create a wide range of visual styles, from cartoonish to more realistic textures. It's important to decide on the style you want to achieve before starting the actual work. Cel-shading works by applying a shader to 3D models, so you'll need to have the models created first. You can create them using software such as Maya, Blender, or 3ds Max, or import them from another source.
A cel-shading material is a set of instructions that tells the game engine how to render the 3D models with a cel-shading effect. There are different approaches to creating cel-shading materials, but one common method is to use a toon shader, which is designed to simulate the look of hand-drawn animation.
Once the cel-shading materials are created, they can be applied to the 3D models in your game engine. This will make the models appear as if they were hand-drawn cartoons. After applying the cel-shading effect, you may need to make adjustments to the materials or lighting to achieve the desired look. This can involve tweaking the colors, shadows, and highlights to make the models appear more like hand-drawn art.
As with any game development process, it's important to test the cel-shaded graphics in-game to see how they look and perform. You may need to make additional adjustments to the materials or lighting based on how they appear in different environments or during different gameplay scenarios. We’ll get into some specific tutorial breakdowns using some of the big programs with a step-by-step approach. But for now, where can we see this style at play? Let’s discuss.
What are Some Cel Shading Examples?
While comic styled games have been around throughout most of gaming history, the first use of cel shading in a video game is often attributed to Sega's Jet Set Radio (known as "Jet Grind Radio" in North America), which was released in 2000 on the Sega Dreamcast.
The game used a technique called "toon shading," which is a form of cel shading that applies a cartoon-like aesthetic to 3D graphics. The toon shading effect was used to give the game that unique hybrid-2D/cartoon/3D aesthetic, which helped to distinguish it from other games at the time.
The success of Jet Set Radio led to the widespread adoption of cel shading and toon shading techniques in other video games. Nintendo was watching closely at this point. So, here are some of the big cel-shading games you’ve probably encountered at some point.
The Legend of Zelda: The Wind Waker (followed by Breath of the Wild / Tears of the Kingdom) - This classic Nintendo GameCube game is known for its vibrant and colorful cel-shaded graphics that give it a distinct cartoonish appearance.
Borderlands - This first-person shooter uses cel-shading to create a comic book-style art style that is both visually striking and unique.
XIII - This game was based on a graphic novel and adapted cel-shading to enhance the overall comic aesthetic through it's first-person shooter gameplay.
Dragon Ball FighterZ - This fighting game from Arc System Works features a cel-shaded art style that captures the look and feel of the Dragon Ball anime series. This is a perfect example of the “cel-shading” style.
Sly Cooper and the Thievius Raccoonus - This PlayStation 2 game features cel-shaded graphics that help to create a fun and playful atmosphere in this platformer. Sly Cooper is an absolute visual blast and needs to be revived, let's start the Twitter campaign.
Ni no Kuni: Wrath of the White Witch - This role-playing game from Level-5 and Bandai Namco features a cel-shaded art style that is reminiscent of Studio Ghibli films. The game's story and characters were actually designed by Studio Ghibli animator Yoshiyuki Momose.
Untitled Goose Game - A surprise hit, this stealth puzzle game from House House had players control a goose and cause havoc as you roamed around messing with people in a small village.
Killer7 - This PlayStation 2 and GameCube game features cel-shaded graphics that help to create a surreal and disturbing atmosphere in this psychological thriller.
Various Games by Telltale - Throughout a series of games, Telltale used cell shading to define the style and feel of their episodic games like Batman: The Telltale Series, The Wolf Among Us, and The Walking Dead.
How to Create a Cel-Shading Effect in Blender
Toon shading in Blender is achieved using the "Shader Editor" and the "Material Properties" panel. Here is a general overview of the steps you can follow to achieve a toon shading effect in Blender:
- Open Blender and create a new scene. Import or create a 3D model that you want to apply toon shading to.
- In the "Material Properties" panel, click on the "New" button to create a new material for your object.
- In the "Shader Editor," select the material you just created. By default, the material should contain a "Principled BSDF" node.
- To apply toon shading, you need to replace the "Principled BSDF" node with a "Toon BSDF" node. You can do this by clicking on the "Add" button and selecting "Shader" -> "Toon BSDF" from the drop-down menu.
- Connect the output of the "Toon BSDF" node to the "Material Output" node.
- Adjust the settings of the "Toon BSDF" node to achieve the desired toon shading effect. The "Size" parameter controls the size of the highlights and shadows, while the "Smooth" parameter controls the smoothness of the transition between the highlights and shadows.
- You can also adjust the color of the toon shading by adding a "Color Ramp" node between the "Toon BSDF" and "Material Output" nodes.
- Finally, you can adjust the lighting and camera settings of your scene to further enhance the toon shading effect.
These are the basic steps to achieve a toon shading effect in Blender. However, there are many other ways to customize the toon shading effect using additional nodes and settings in the Shader Editor.
How to Create a Cel-Shading Effect in Unreal Engine
To achieve cel shading in Unreal Engine, you can use the built-in "Post-Process Materials" and "Material Editor" to create a custom material that applies the cel shading effect to your scene. Here are the general steps to create a cel shading effect in Unreal Engine.
- Open Unreal Engine and create a new project or open an existing one.
- In the "Content Browser," create a new "Material" asset. This will open the "Material Editor.”
- In the "Material Editor," create a custom material that will be used to apply the cel shading effect. You can achieve this by combining various nodes such as "Texture Sample," "Multiply," "Add," and "Lerp" to create the desired look.
- Add a "Post Process Material" to the scene. You can do this by going to the "World Settings" and selecting the "Post Process" tab. In the "Post Process Materials" section, click on the "+" icon and select the material you just created.
- Adjust the settings of the material to achieve the desired cel shading effect. For example, you can adjust the "Outline Width" and "Outline Color" parameters to create a black outline around objects in the scene.
- You can also adjust the "Threshold" and "Smoothness" parameters to control the smoothness of the shading and the contrast between the light and dark areas.
- Finally, you can adjust the lighting and camera settings of your scene to further enhance the cel shading effect.
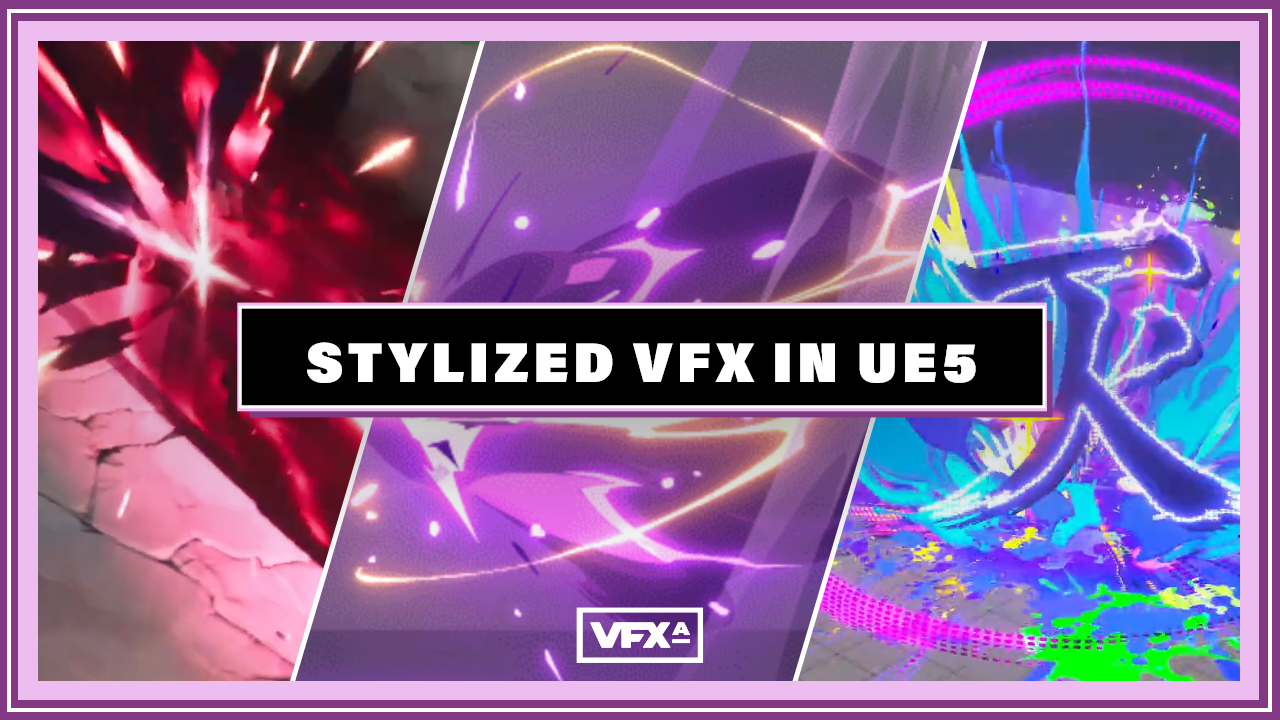
Earlier when we mentioned Borderlands and Jet Set Radio, these specific looks are very desirable amongst developers and VFX artists, especially when working in Unreal Engine. Here is a tutorial on pulling off those specific looks within Unreal.
How to Create a Cel-Shading Effect in Unity
To achieve cel shading in Unity, you can use the built-in "Shader Graph" and "Post Processing Stack" to create a custom shader that applies the cel shading effect to your scene.
Here are the general steps to create a cel shading effect in Unity.
- Open Unity and create a new project or open an existing one.
- In the "Project" window, create a new "Shader Graph" asset. This will open the "Shader Graph Editor.
- In the "Shader Graph Editor," create a custom shader that will be used to apply the cel shading effect. You can achieve this by combining various nodes such as "Texture Sample," "Multiply," "Add," and "Lerp" to create the desired look.
- Add a "Post Processing Layer" to the scene. You can do this by going to the "Hierarchy" window, right-clicking and selecting "Create Empty" and then adding the "Post Processing Layer" component to the newly created object.
- Create a new "Post Processing Profile" asset. This will open the "Post Processing Profile Editor.”
- In the "Post Processing Profile Editor," add a "Custom Post Processing" effect. Set the "Shader" parameter to the custom shader you created in step 3
- Adjust the settings of the custom shader to achieve the desired cel shading effect. For example, you can adjust the "Outline Width" and "Outline Color" parameters to create a black outline around objects in the scene.
- You can also adjust the "Threshold" and "Smoothness" parameters to control the smoothness of the shading and the contrast between the light and dark areas
- Finally, you can adjust the lighting and camera settings of your scene to further enhance the cel shading effect.
These are the basic steps to achieve cel shading in Unity. However, there are many other ways to customize the effect using additional nodes and settings in the Shader Graph and Post Processing Profile Editor.
How to Create a Cel-Shading Effect in After Effects
To achieve cel shading in After Effects, you can use the built-in "Posterize Time" and "Find Edges" effects to create a custom composition that applies the cel shading effect to your footage. Here are the general steps to create a cel shading effect in After Effects.
- Open After Effects and create a new composition.
- Import your footage into the composition.
- Add the "Posterize Time" effect to the footage layer. This will reduce the number of colors and make the motion appear more jerky, which is a common characteristic of cel shading.
- Adjust the "Levels" parameter of the "Posterize Time" effect to control the number of colors and the level of detail in the shading.
- Add the "Find Edges" effect to the footage layer. This will create a black outline around the edges of the objects in the footage, which is another common characteristic of cel shading.
- Adjust the "Threshold" and "Radius" parameters of the "Find Edges" effect to control the thickness and smoothness of the outline.
- You can also adjust the color and opacity of the shading and outline by adding adjustment layers and modifying their properties.
- Finally, you can render the composition to create the cel shaded footage.
These are the basic steps to achieve cel shading in After Effects. However, there are many other ways to customize the effect using additional effects and techniques.
Ready to make stylized FX for games?
Start Your VFX Apprenticeship
Begin your journey towards mastering FX for games and animation. Join VFX-A All Access and discover cutting-edge 2D, 3D, and real-time FX training.