How to Make Straight Ahead Animations in Adobe Photoshop
Sep 06, 2023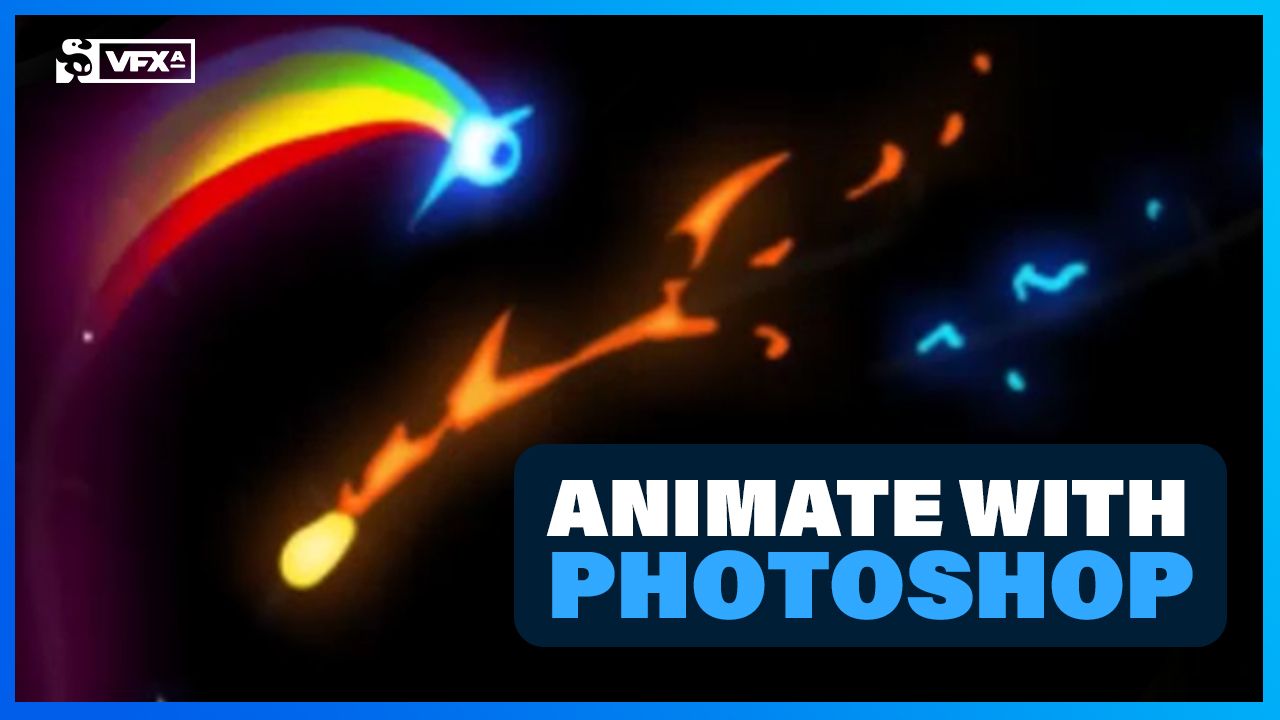
Open up hidden timelines and learn how to create frame-by-frame straight-ahead animations inside of Adobe Photoshop.
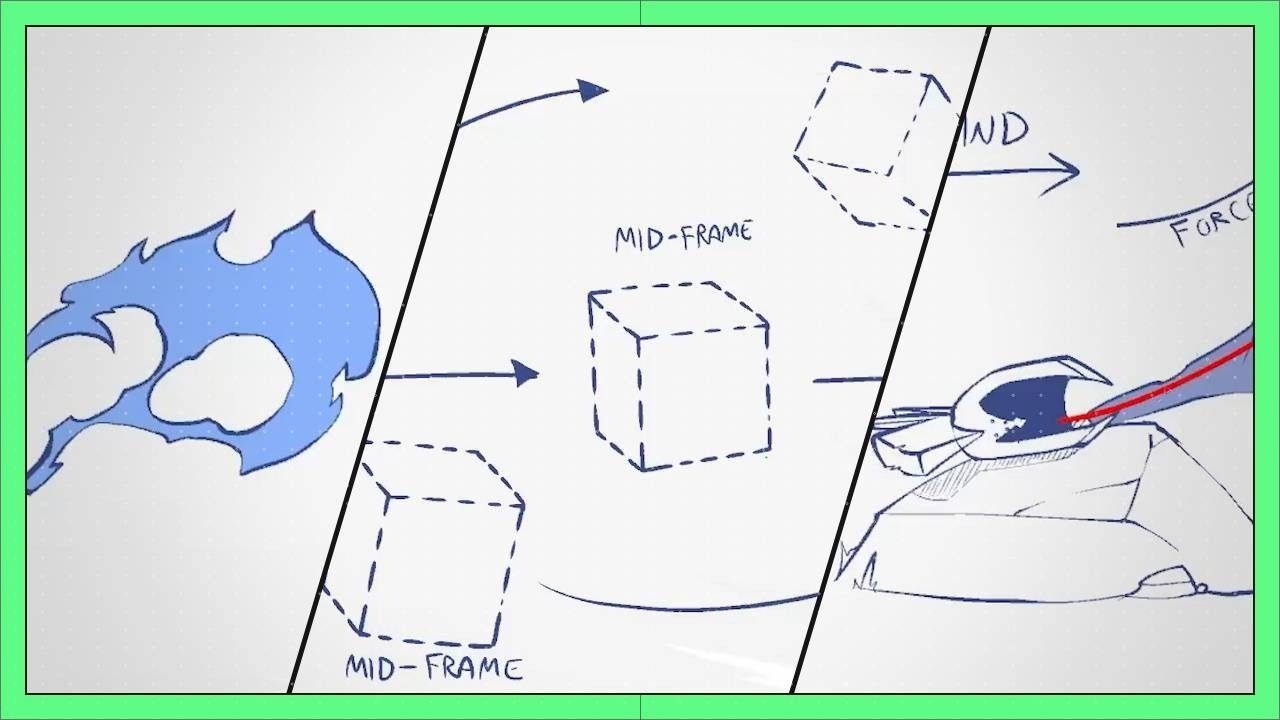
Like all creative endeavors, everyone has their favorite tool for the job. You might think that you have to have tools like Toon Boom Harmony, Adobe Animate, or even After Effects to create 2D animations. The fact is, there are still other ways to create animations.
Now you may have a background in design or photography and you may be more comfortable in using Photoshop as your tool of choice. Did you know that you can animate directly inside Adobe Photoshop? Here are the steps to open the video timeline and how you can create frame-by-frame animations. A benefit of using Photoshop is that you can also use all of Photoshop's layer styles and effects to rapidly create animated sequences, but there are some caveats in how you can edit or adjust frames, especially after the fact.
Let's dive into animating in Photoshop, and see some of the software's strengths and weaknesses in action.
Download FX Animation Photoshop Project Files
Sign up to get the free Photoshop FX .psd files sent directly to your inbox.
(If you are a member of our Free VFX Training course, you can also find the project files in your downloads.)
Animation Hotkeys in Photoshop
The first thing you want to do is set up hotkeys which will make you work so much faster using keyboard shortcuts.

In Photoshop go to Edit > Keyboard Shortcuts and Menus.
Alternatively, you can use Alt + Shift + Ctrl + K on PC | Option + Shift + Command + K on a Mac to open this menu.
Now this may look like a lot at first glance, but fear not. We are going to break this down and go one step at a time. Let's break it into Panel Menus and Application Menus.
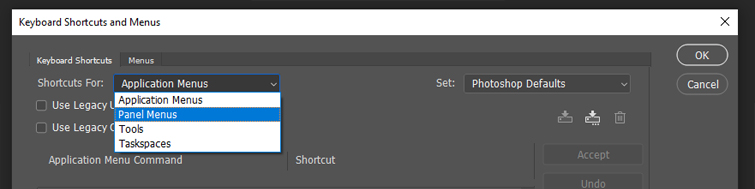
In the Shortcuts For: dropdown menu, select Panel Menus. Then in the list of shortcuts, scroll down and unfurl Timeline (Video). There you should see the following shortcut options.
Select each individual option, hit the corresponding keyboard key listed below, and then click Accept.
Panel Menus > Timeline (Video)
- Next Frame - F2
- Previous Frame - F1
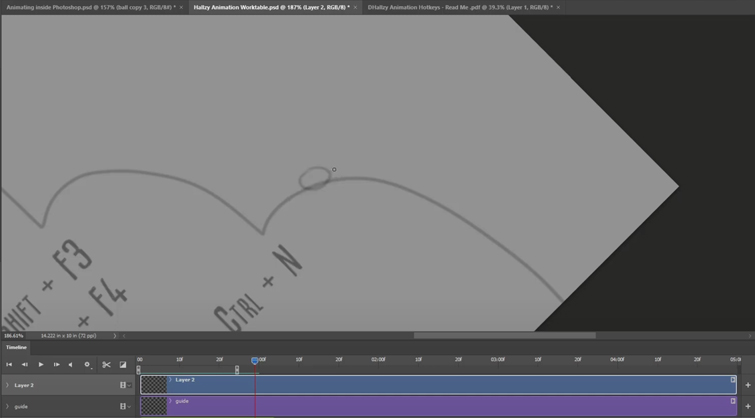
- Start of Work Area - F3
- End of Work Area - F4
- Split Playhead - F6
- Set Start at Playhead - Shift + F3
- Set End at Playhead - Shift + F4
- Toggle Onion Skin - F5
Now back to the Shortcuts For: dropdown menu, select Application Menus. Then in the list of shortcuts, scroll down and unfurl Layers. There will be quite a few options here, you want to scroll and find Video Layers.
Select each individual option, hit the corresponding keyboard key listed below, and then click Accept.
Application Menus > Layers > Video Layers
- New Blank Video Layer - Alt + Shift + Ctrl + N (PC) | Option + Shift + Command + N (Mac)
- Insert Blank Frame - Shift + F1
- Duplicate Blank Frame - Shift + F2
- Delete Blank Frame - Alt + F1 (PC) | Option + F1 (Mac)
Open the Photoshop Timeline
To get started, you first want to open the Timeline window. In the main navigation bar, go to Window > Timeline.

This will open a timeline in your Photoshop project that you can scrub through by adjusting the play head. Now you have unlocked these Photoshop tools so they are easily accessible. No matter if you're super proficient in animation, or you've never done any kind of hand-drawn animation before, this guide should help anybody and everybody get started.
Types of Layers in Photoshop
There are two different types of layers in Photoshop. There's the standard layer, think of this as a holding layer. So if you scribble or draw on this layer and scrub through the timeline, nothing changes because as long as this layer lasts through the timeline, it will hold. You can adjust that by changing the lifetime by dragging the beginning or end points like you would in After Effects.
The second type is the video layer, which has a film strip icon. Now when you draw on a video layer, that image lives only on a single frame. So as the play head moves, the drawing disappears. So if I were to go to the next frame and make another scribble, now you can go back and forth and we can see the beginnings of an animation in the making.
Making an Animation in Photoshop
Let's make a little bouncing ball. Multi-ball exercises are always fun. So the first thing that I like to do is create a new layer, and I'm going to call this guide. This will help me visualize the ball's path. I'm just going to make a little a little guide for myself here, just so that I can see where I can place the ball. I might decrease the opacity.

And now let's go ahead and I'm going to use my shortcut here to create a new video layer. For this exercise, I'll be using straight-ahead animation. That means I'll be making a new drawing on every new frame going forward. And if you're curious to learn more about these animation techniques, we've got a great FX Timing Principles course about that exact subject over at the website.
Now let's start making our bouncy ball. Let's start up top, start drawing with the paint tool, and then go back and forth between the next frame and the previous frame. And we're just having fun. I'm not really worried about losing volume or anything like that. For the most part, we're just playing around and having some fun. Go back and forth, we can scrub it, we can push the spacebar to have it play.
Now, if we wanted to insert a frame in between, that's really easy to do. We've got a hotkey here called for me. It's Shift + F1. It's just inserted a frame in between the two frames we had. If we wanted to see an onion skin between these frames, we've got the F5 shortcut key. Now you can see the previous and the frame after.

Then we'll go to the next frame and just roughly follow the guide. It doesn't have to be completely on the money here. And oops, it looks like I've doubled up on my drawing. That's no problem. You can grab the lasso tool and I'm going to cut it and insert a frame and I'll paste that in place. If you grab the move tool with V and try to drag this it will move the entire animation. Instead, what you have to do is grab the selection of the area with the lasso too, because if you grab just the unselected, you'll be grabbing the entire animation layer.
Now just continue frame by frame adding your bouncing ball, and work in some animation principles with squash and stretch to really sell the movement.
As you draw anything in Photoshop, you will get to know that the canvas angle isn't working well for you, you can always push R to rotate. It might give your hand a little bit of an easier time trying to get the angle you're looking for.
Bouncy ball exercises are super fun because there are really no rules. You get to make the rules.
Once you have the final frame after the ball settles, you may want to have this frame hold. So what we can do is select all and copy and paste in place. This will paste it onto a new standard layer and that'll be our hold.
Photoshop Layer Styles
Because we are animating in Photoshop, we still have all the tools available to us in any kind of Photoshop layer.
So you can add layer styles, like a glow. You can change the color, you know, let's make this kind of a kind of a bright, a bright ball.
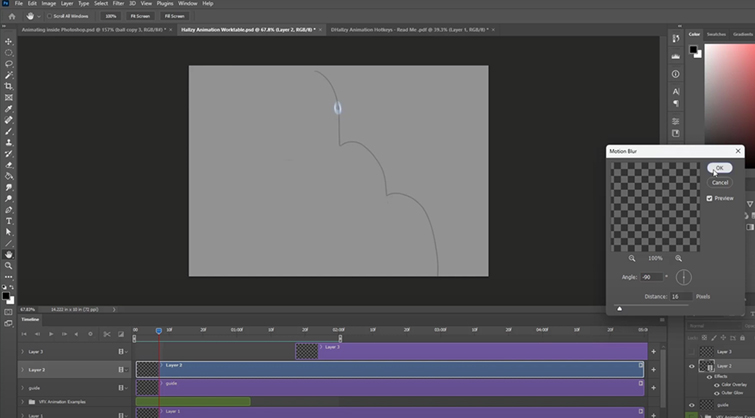
You can even apply Blur so you can create some motion blur on select frames to really sell the natural movement.
Photoshop Timeline Video Layer Parameters
Let's look at a few other parameters that might make this pretty interesting. In the timeline window on the layer, we've got our bouncy ball video layer. If you unfurl this, it reveals a couple more parameters, position, opacity, and style.
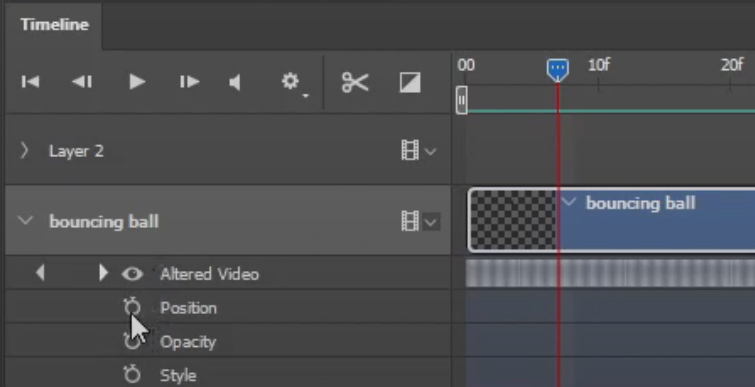
With these parameters, you can scrub to any point on the timeline and then click on the stopwatch icon to turn on keyframes. Then move down the timeline and add additional keyframes by clicking the diamond icon. You may not often need the position setting, but you can have a lot of fun with the opacity and style parameters.
The style parameter is tied directly to the layer styles, so you can add color overlays or glows, and with keyframes, you can have those settings turn on and off as the animation plays through.
Adding 2D FX to Photoshop Animations
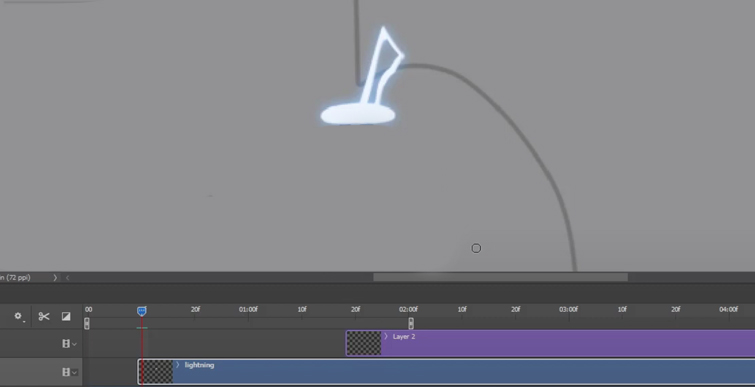
Finally, let's start adding some visual effects to our animation. Let's start by adding some lightning and electricity, that's always fun to draw. To keep the project organized, make a new blank video layer, and name it appropriately. In this case, let's call it lightning.
Lighting is really fun to draw in straight-ahead animation. Start with a simple shape, and I'm going to use pure white, but you could always apply layer effects later. You can even copy and paste the same layer styles from the ball layer and apply them to the lightning layer.
Now it's all about working through the effect. You can play with the width and sharpness throughout, and use onion skins to help you map out movement over time. If you don't have much practice drawing elemental FX, you can check out our roundup of elemental FX drawing tutorials here for inspiration. We also have several courses dedicated to both 2D and 3D elemental VFX inside of VFX Apprentice All Access.
With electricity, you just kind of have to play and see what feels right. Mess around with visual interest until you are happy with it. For time, we are also going to duplicate this FX and re-use the animation for each ball impact. Duplicate your lightning layer, and now use the move tool to move the entire animation to the next impact point.
You can further cheat this look by rotating the effect, but doing so will convert the video layer into a Smart Object in Photoshop. That does impact the layer styles, but an easy workaround is to change the layer style from Normal to either Screen or Add.
Another issue with Smart Objects is that you can't modify the animation without rasterizing it, which we don't want to do because it will flatten out the layer and make it static. To modify the Smart Object, double-click on the layer in the timeline, and that will open a new window with the animation, similar to a nested sequence in Premiere Pro.
More Like This:
- The Ins and Outs of Designing Elemental Character FX
- How to Use Adobe Photoshop to Create Video Game Visual FX
- The 5 Must-Know Artistic Principles of Video Game Visual FX
- 3 Tips on Making Technically Sound and Sophisticated VFX
- What Tools Do You Need to Create Video Game VFX?
Learn 2D FX for Animation
Are you ready to elevate your VFX skills and work on video games and animated projects like the pros? Our VFX courses are led by FX industry leaders who will not only guide you through fundamentals, they will prepare you to work at leading studios and VFX houses.
Start Your VFX Apprenticeship
Begin your journey towards mastering FX for games and animation. Join VFX-A All Access and discover cutting-edge 2D, 3D, and real-time FX training.